
Engineering Marvels of the 21st Century: Innovations Transforming Our World
The 21st century has been a period of remarkable innovation and technological advancement, particularly in the field of engineering. This era is defined by groundbreaking developments that have transformed our lives in countless ways. From towering skyscrapers that defy gravity to microscopic medical devices that save lives, the contributions of engineers are ubiquitous and invaluable. This article delves into some of the most significant engineering marvels of our time, underscoring the profound impact they have had on our world.
The Rise of Smart Cities: A Blend of Architecture and Engineering Occupations
The concept of smart cities represents a revolutionary intersection of architecture and engineering occupations. These technologically advanced urban areas are designed to optimize city functions and promote economic growth while improving the quality of life for its residents through technology. Initiatives like Starnet and collaborations between educational institutions such as UCR Engineering have been pivotal in spearheading smart city projects. The integration of IoT devices, AI, and big data analytics in urban planning is transforming cities into more efficient, sustainable, and secure habitats. The FAME Conference 2015, a significant event in this field, showcased how these futuristic cities are not just a concept but a rapidly evolving reality. Here, technology is not just an add-on but the very fabric that holds these cities together, demonstrating how engineering and architecture occupations are evolving to meet the demands of the 21st century.
Proposal writing services at EssayPro, catering to students and professionals who need expert assistance in crafting detailed and persuasive proposals. Whether it’s for academic research, a business project, or any other purpose, EssayPro’s team of skilled writers can help articulate your ideas and objectives in a structured and compelling manner, ensuring your proposal stands out.
Breakthroughs in Electrical and Electronic Devices: Shaping Our Daily Lives
The advancements in electrical and electronic devices have been monumental in shaping our daily lives, highlighting the necessity of in-depth academic exploration in this field. The evolution of these devices, driven by relentless innovation and research, has resulted in a world more connected and efficient than ever before. The development of the Star_Net communication networks is a prime example of such groundbreaking work. For students and scholars aiming to delve deeper into this topic, essayservice.com which can write my research paper, offers a valuable resource for obtaining expertly crafted research papers. These networks have revolutionized the way we communicate, making it faster and more reliable. The Fame initiative has been a catalyst in promoting cutting-edge research and development in this field, leading to the creation of devices that are not only more powerful but also more energy-efficient and environmentally friendly. The proliferation of smart devices, wearables, and home automation systems are testament to the incredible impact of electrical and electronic devices in our everyday lives. Their ubiquity and versatility underscore the importance of electrical engineering and its role in shaping the future of technology. For students and researchers delving into this complex and ever-evolving field, the assistance of a custom essay writing service can prove invaluable. This service offers tailored support, enabling the meticulous exploration of electrical engineering topics with expertly crafted essays that reflect the latest advancements and theoretical frameworks..
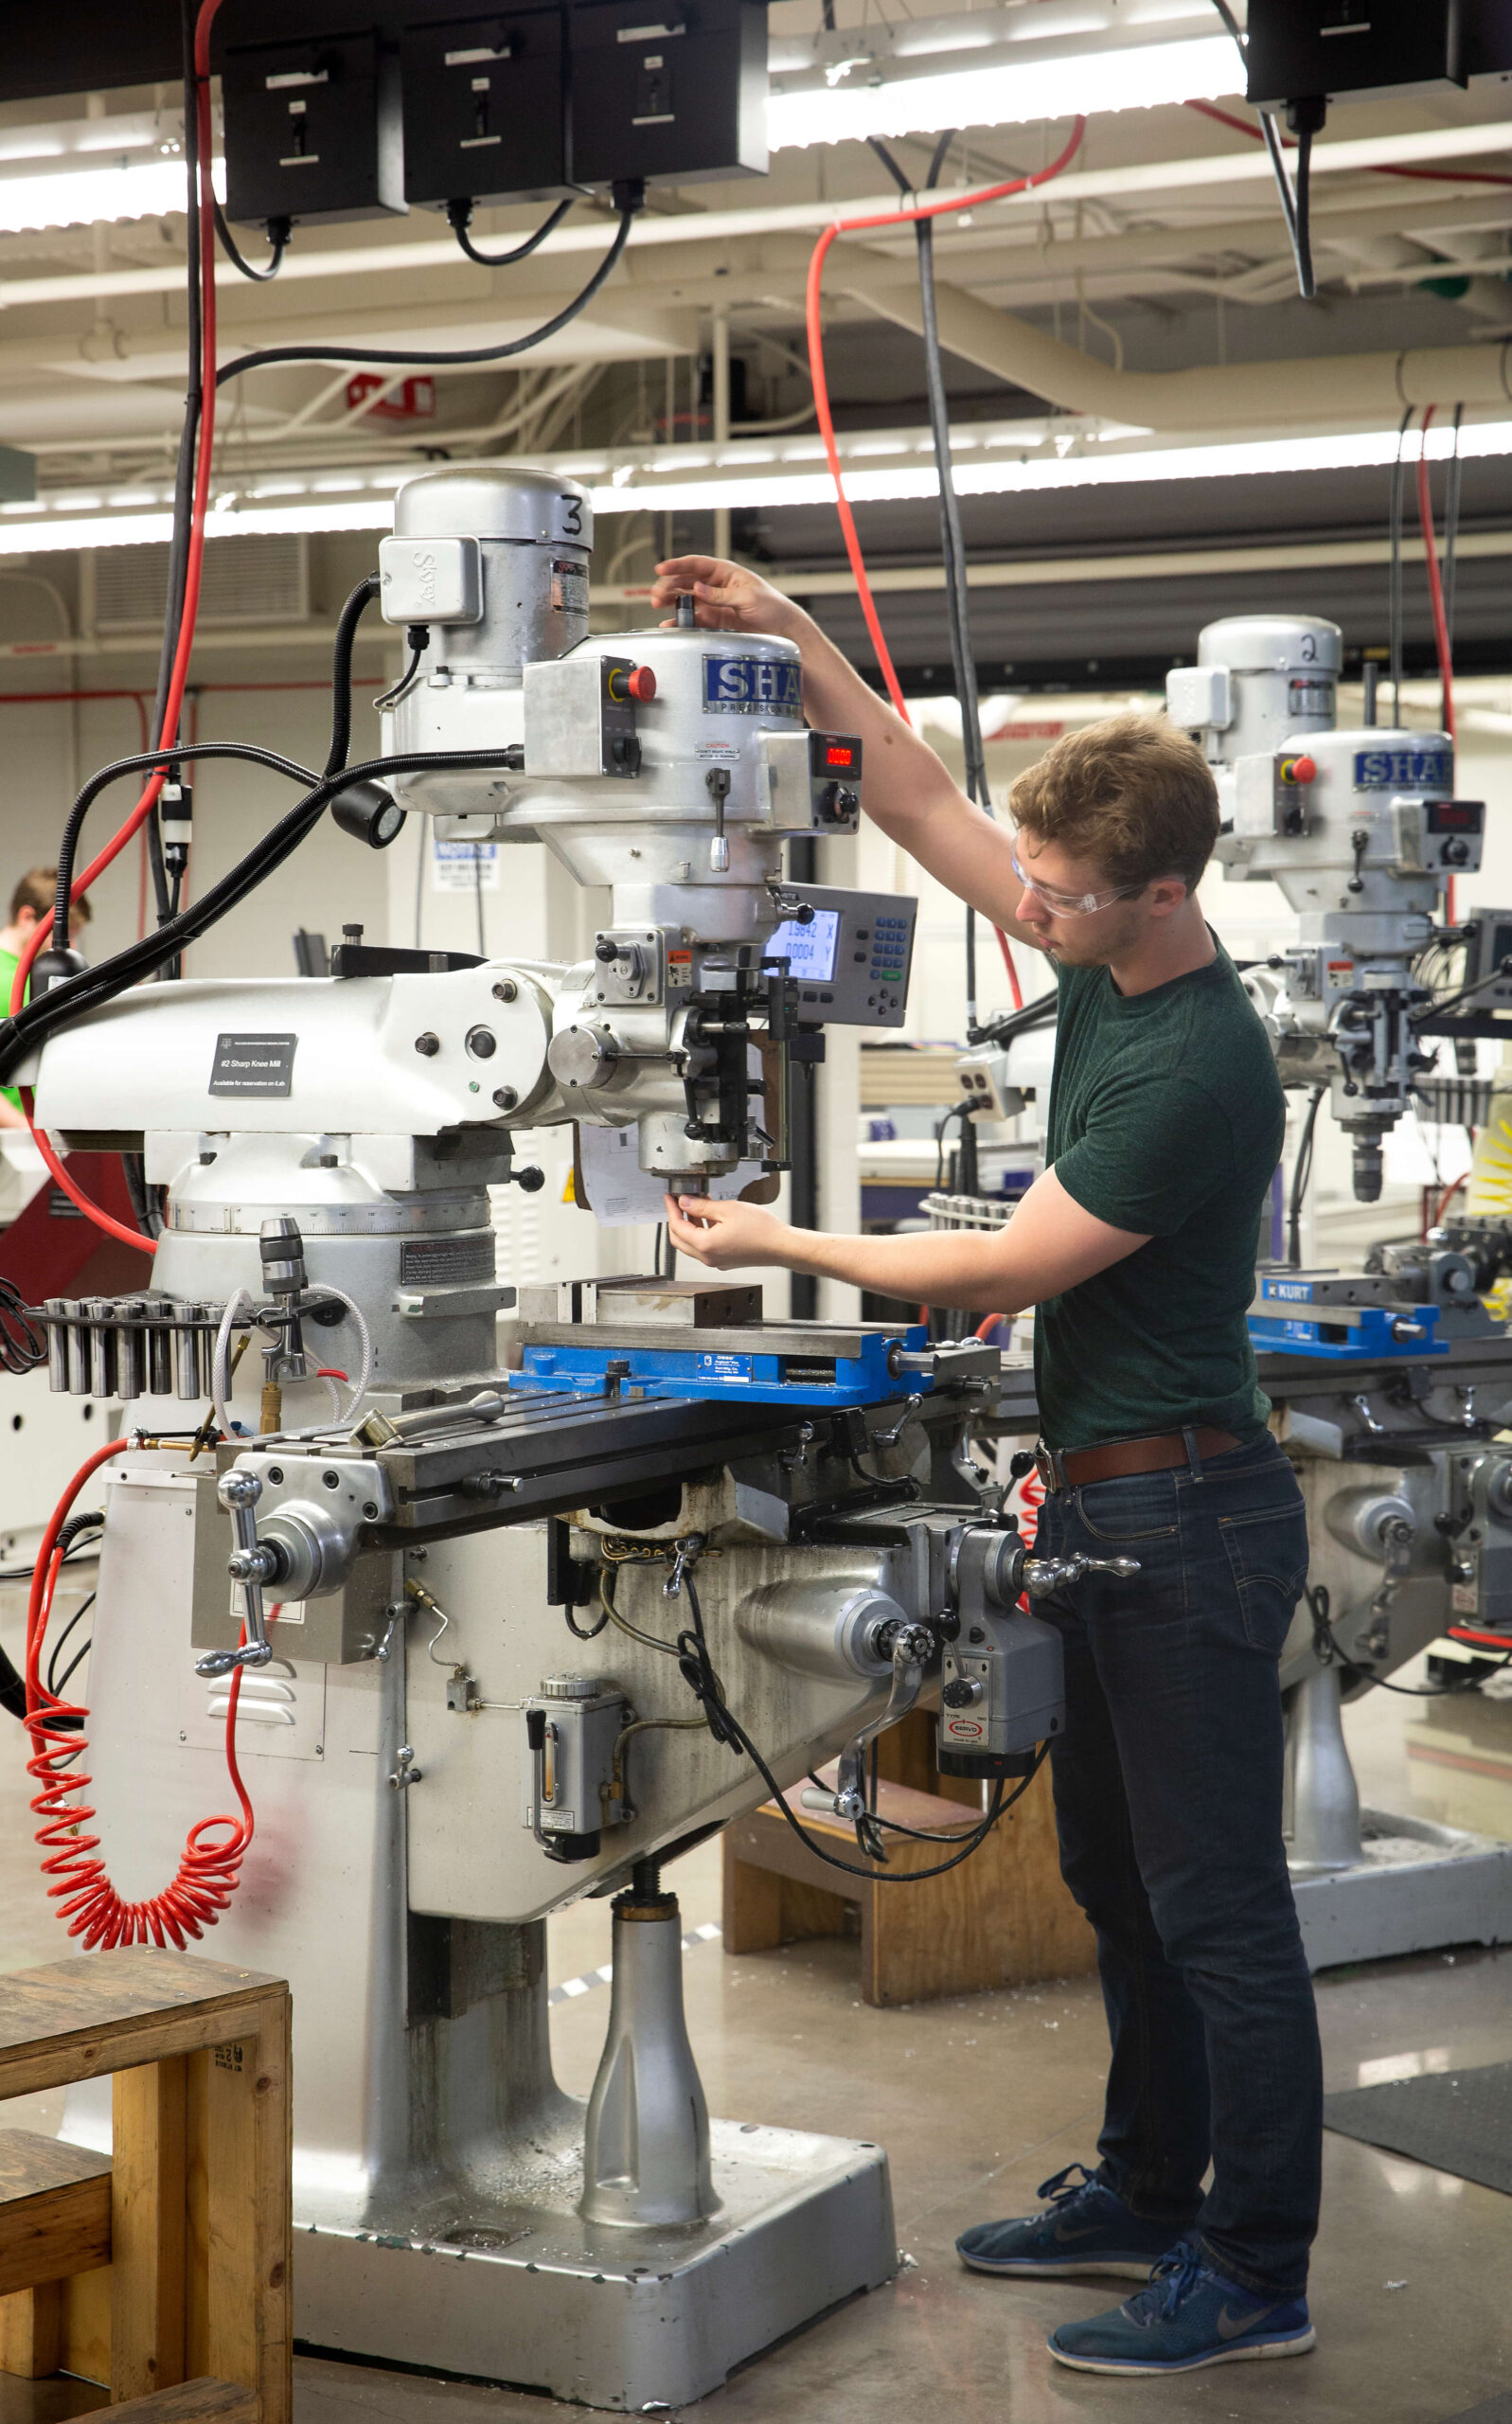
Civil Engineers: Pioneers of Modern Infrastructure
Civil engineers have always been the pillars of infrastructure development, and their role in the 21st century is more crucial than ever. They are responsible for designing, building, and maintaining the backbone of our cities and countries – from roads and bridges to dams and airports. The work of civil engineers is not just about creating structures but also about ensuring they are safe, efficient, and sustainable. The transition from traditional to modern infrastructure is vividly seen in projects like the UCR to UCLA expansion. These projects not only demonstrate the engineering prowess but also reflect the changing needs and challenges of modern societies. Civil engineers are not just building infrastructure, they are building the future, taking into account the environmental impacts, the need for renewable materials, and the integration of new technologies. Their work is a balancing act between meeting today’s needs and anticipating tomorrow’s challenges.
The availability of an “essay service promo code” offers a practical solution for students seeking cost-effective writing support. By applying such a promo code, students can enjoy reduced prices on expert writing services, ensuring they receive tailor-made essays that adhere to their academic requirements. This approach not only supports students’ financial planning but also reinforces the value of investing in professional writing assistance to enhance their academic outcomes.
Revolutionizing Transportation: Engineering Faster, Safer, and Greener Ways to Travel
The transportation sector has undergone a revolution, thanks to the innovative work of engineers. The focus has shifted to creating modes of transportation that are not only faster and more efficient but also safer and more environmentally friendly. The development of high-speed rail networks, electric vehicles, and even autonomous cars are examples of how engineering is reshaping the way we travel. Institutions like the UCLA Research Center are at the forefront of this transformation, conducting research that pushes the boundaries of transportation technology. This revolution is not just about moving from point A to point B, it’s about reimagining the entire concept of travel. Engineers are working on solutions that reduce carbon emissions, minimize traffic congestion, and improve overall safety. The future of transportation looks promising, with concepts like hyperloop and flying cars moving from the realm of science fiction into reality.

The Impact of Renewable Energy Systems on Global Sustainability
The shift towards renewable energy systems is perhaps one of the most crucial aspects of engineering in the 21st century. With the growing awareness of climate change and the depletion of fossil fuels, renewable energy has become a central focus for engineers across various disciplines. Nuclear and agricultural engineers, for example, are involved in refining raw materials and improving the efficiency of solar panels and wind turbines. Initiatives like the UCR Renewal 2016 have highlighted the importance of transitioning to sustainable energy sources. These renewable systems are not just alternatives to traditional energy sources, they represent a fundamental shift in how we view and utilize energy. The push for renewable energy is not just about reducing carbon emissions, it’s about creating a sustainable and resilient energy infrastructure that can support future generations.
Computer Systems: The Engine Behind Technological Advancement
Computer systems have become the backbone of modern technological advancement, driving innovation across various fields. The development of sophisticated computer systems has enabled engineers to solve complex problems, model scenarios that were once impossible to predict, and create technologies that have transformed our world. The role of computer systems in engineering cannot be overstated. From the design of complex machinery to the analysis of vast amounts of data, these systems are integral to the engineering process. They are the tools that allow engineers to push the boundaries of what’s possible, turning theoretical concepts into tangible realities. As we continue to advance in areas like AI, machine learning, and quantum computing, the role of computer systems in engineering will only become more pivotal.

Biomedical Engineering: Merging Medicine with Technology
Biomedical engineering is a testament to the incredible potential that arises when two seemingly distinct fields – medicine and technology – converge. This interdisciplinary field has led to significant advancements in healthcare, from the development of sophisticated diagnostic tools to revolutionary treatments and therapies. Biomedical engineers are at the forefront of medical innovation, working tirelessly to improve patient outcomes and enhance the quality of life. Their work has led to the creation of artificial organs, advanced prosthetics, and minimally invasive surgical techniques, among many other breakthroughs. The fame of biomedical engineering has grown as the world has witnessed its impact, not just in terms of technological innovation but in its profound ability to change lives.

The Future of Engineering: Emerging Trends and Predictions
As we look towards the future, the field of engineering is poised to continue its trajectory of innovation and discovery. Emerging trends suggest a greater emphasis on sustainable practices, the integration of AI and robotics in various engineering disciplines, and the continued convergence of different fields to address complex global challenges. The role of engineers in the future will be more interdisciplinary, requiring a broad understanding of multiple areas and the ability to apply engineering principles in novel ways. Education initiatives like STEM and programs like PECASE 2016 are crucial in preparing the next generation of engineers to meet these challenges. The future of engineering is not just about technological advancement, it’s about using that technology to create a better, more sustainable world for future generations.